My prints come with a small border to protect the printed image’s edges, and to make it easier to mount it to a mat. You can request this be trimmed during ordering. If you have already received the print and don’t like the border on your print you can cut it with a pair of scissors. The cut doesn’t even have to be perfect, as you’ll never see it if you’re putting the print into a traditional “standard” frame. The edge of print will be obscured, along with some of the image’s text.
The reality is, there is no such thing as a standard frame. Framing a photo? Who cares if part of Grandma Nessie’s homemade sweater is cropped off. She was terrible at knitting anyway. But when you’re framing posters with text near the edges, you either need a custom sized print, or a custom sized frame, or your art will get cropped and obscured by the frame’s rabbeted edge. Here’s an example. Click here. See the bottom text is cropped? That could have been prevented, by including a border and by ensuring the printed image is sized to fit the artwork opening, rather than the artwork holding area.
Watch this video I’ve posted to YouTube for an explanation.
If you haven’t ordered yet, I can help you ensure proper sizing, without custom framing.
Check your 8 x 10 frame. Is the art opening really 8 x 10? Likely not. The part that holds the poster/photo (I call this the artwork holding area) measures 8 x 10, but the part you see is probably more like 7.5 x 9.5 or even smaller (there’s no standard). Your frame has a rabbeted edge that overlaps your artwork, so your print will never be framed properly - border or no border - unless you request custom sizing, use a custom frame, or use a custom mat. You never notice this when framing photos, because who notices when a fraction of the edge of a photo is cropped? But you’ll definitely notice it on some of my art. So what is the solution?
If you’re buying a frame from Michaels, Target, Amazon, etc. You can get a good quality frame and save lots of money over custom framing.
However, it is important you do your homework. We recommend purchasing your frame FIRST.
Do not trust the sizing indicated on the package. Get the frame, open it up, and take measurements.
You’ll need to provide us with 2 measurements. The sheet size and the printed image size. This can be determined by measuring:
1. The artwork holding area. This is the dimensions of the space that holds the print. This is measured from the back, with the frame open.
This is your sheet size.
2. The artwork window or opening. This is measured from the front, and may be determined by a mat opening.
If your frame doesnt have a mat, the artwork window/opening is simply what you see when looking at the front of the frame. This is often smaller than the holding area, because all frames have a rabbeted edge (see below) that overlaps the artwork. You rarely notice this on a photograph, but you’ll notice it on artwork that has type or other crucial graphics near the edges. If you want just the printed artwork to show, requested the printed image be the same size as the opening (or 1/16 inch larger for slight overlap)
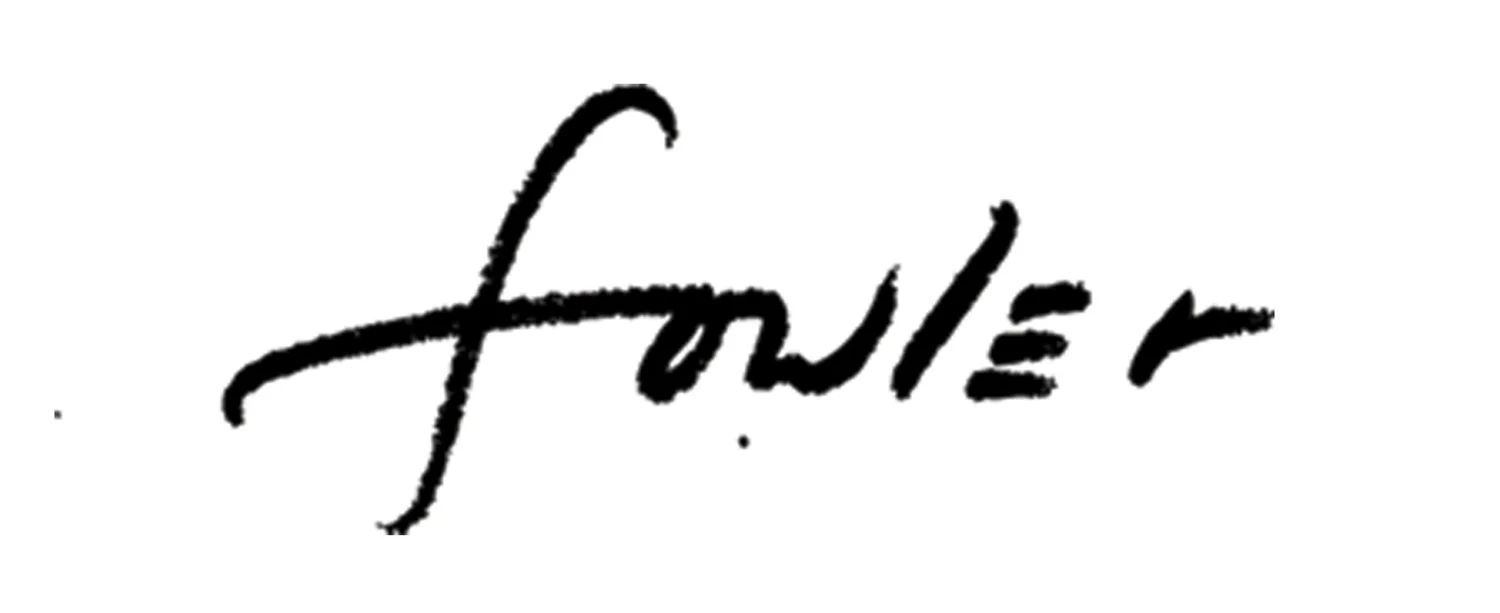
If you want the signature border to show, request the printed image size to be 1/2 inch smaller PER side, so the border shows in the artwork
window/opening.
Please don’t provide us with an internet link to a frame, frame dimensions or tell us to “please size print to fit standard frame”
Taking the time to get the frame first and take these measurements will help insure a proper fit, and save you money!
Don’t want to fuss with framing? I do offer a framing service for 8 x 10 prints, provided you purchase it at the same time that you purchase your print. You can also purchase all designs in my canvas formats.

